

How To Make A Gif More Clear
Over the years, we've gotten lots of questions about how we create GIFs. We love GIFs because they're easy to share, they work in all browsers, and you can make them loop! By popular demand, here's an overview of our two favorite GIF creation tools and our workflow for each.
Recording your screen
There are a few great screen recording tools out there. If you're on Mac, you can use Quicktime, which is completely free. In this article, we'll be using ScreenFlow, which is a paid app by Telestream.
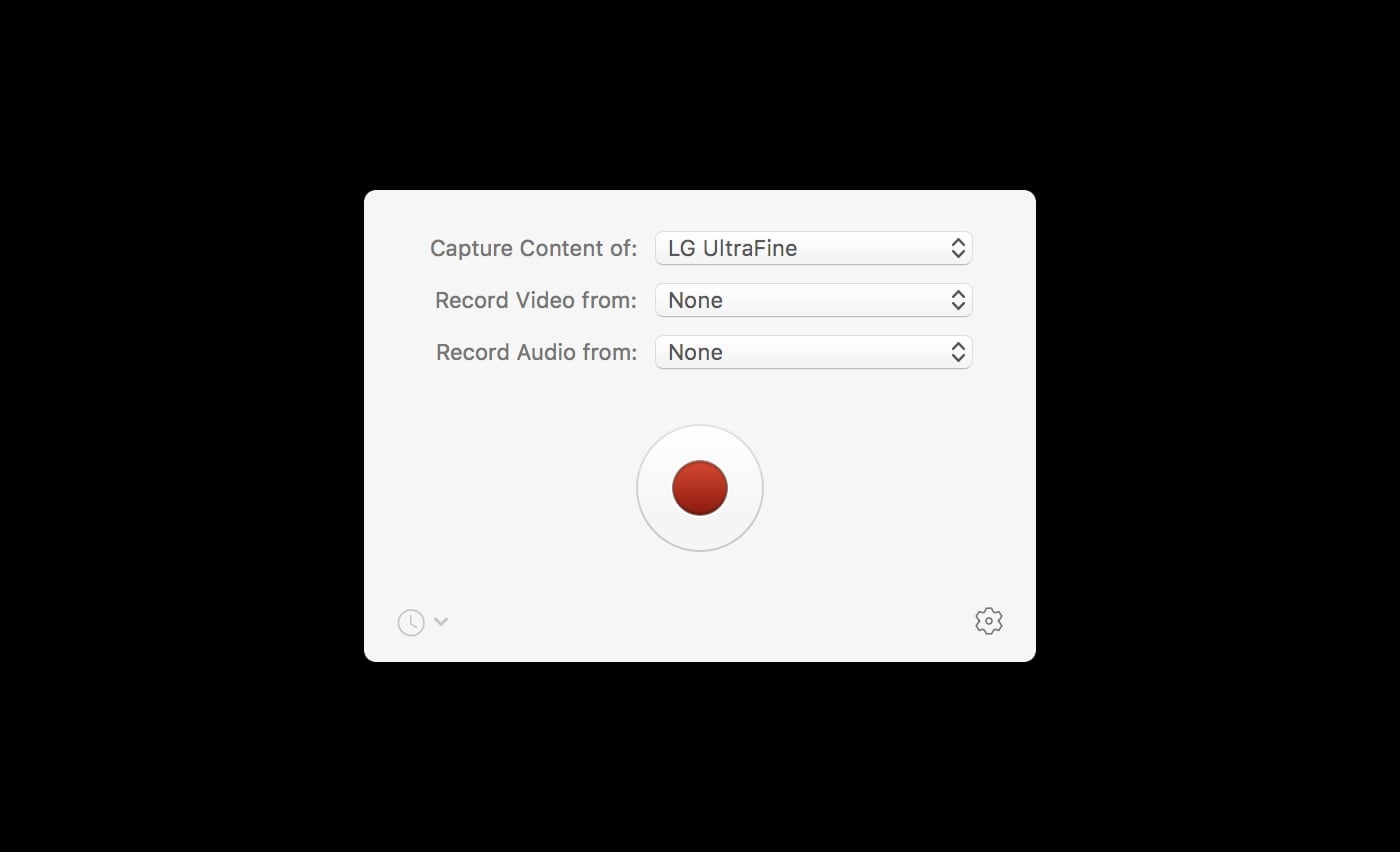
ScreenFlow is a great option for recording because it includes a powerful editor that gives you detailed control over your GIF. When you open up ScreenFlow or hit configure recording you'll see this screen.
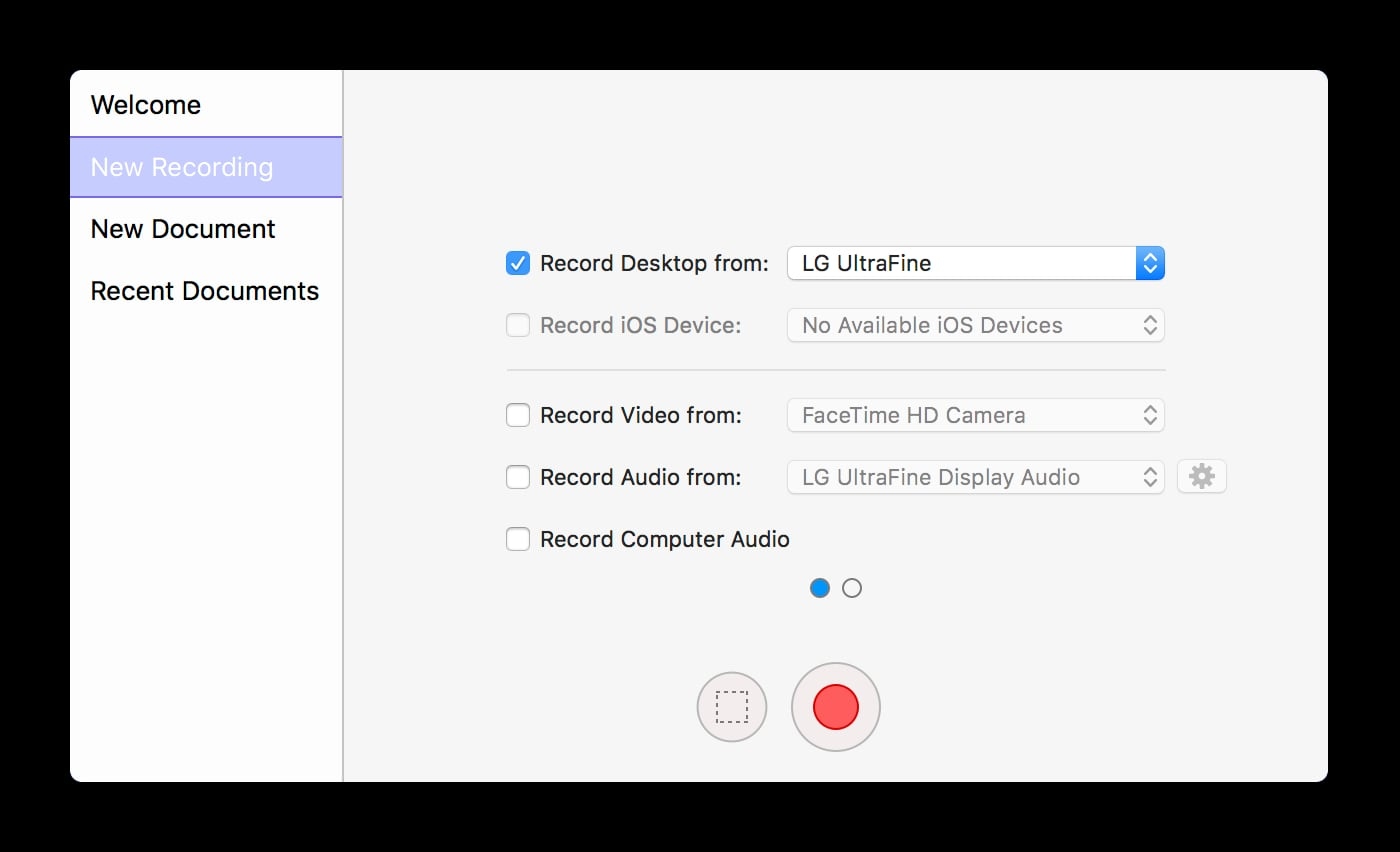
ScreenFlow recording configuration.
First, make sure you have your prototype on screen. Then, select the display you'll be recording and hit the red button to start recording your entire screen. In this tutorial, I'll be recording an interaction made in Framer, so my preview window is set to full screen. It's possible to crop the recording to the perfect size later on.
Create a perfect loop
One thing we always strive for is a perfectly looping GIF, and a good way to execute this is to ensure the last frame of your GIF is exactly the same as the first frame. This prevents jumpiness, which then makes the GIF flow properly when played on repeat.
If your animation contains a mouse cursor and you have a steady hand, you can easily create a perfect loop by positioning the mouse cursor by hand. Use visual cues to remind yourself where you started off and where you need to end up.
In my example I've made use of an animated touch cursor for the best result right within the actual prototype I'll be recording. Download this example to see how you can add an animated touch cursor to your own prototypes using Framer.
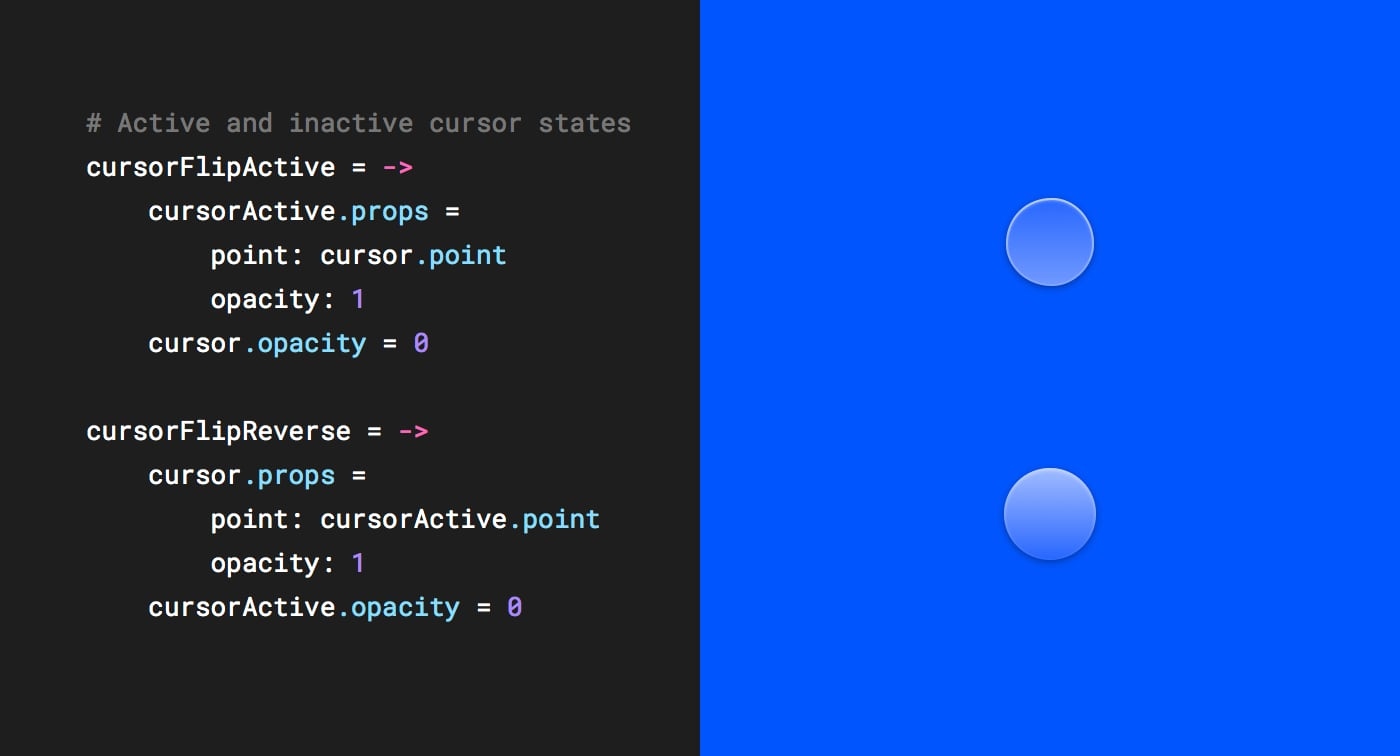
Active and inactive states for the touch cursor.
Add effects to spice it up
Now that you've made your recording in ScreenFlow, you may want to adjust it to focus on what you want to feature in the GIF. To do this, go to File > Document settings. In this tutorial, we'll be sharing to Dribbble on Web, so 800x600 is the optimal size. You'll notice that the dimensions of the recording made earlier are too large. To fiddle with the scale of the recording, select the clip and click the top right of ScreenFlow.
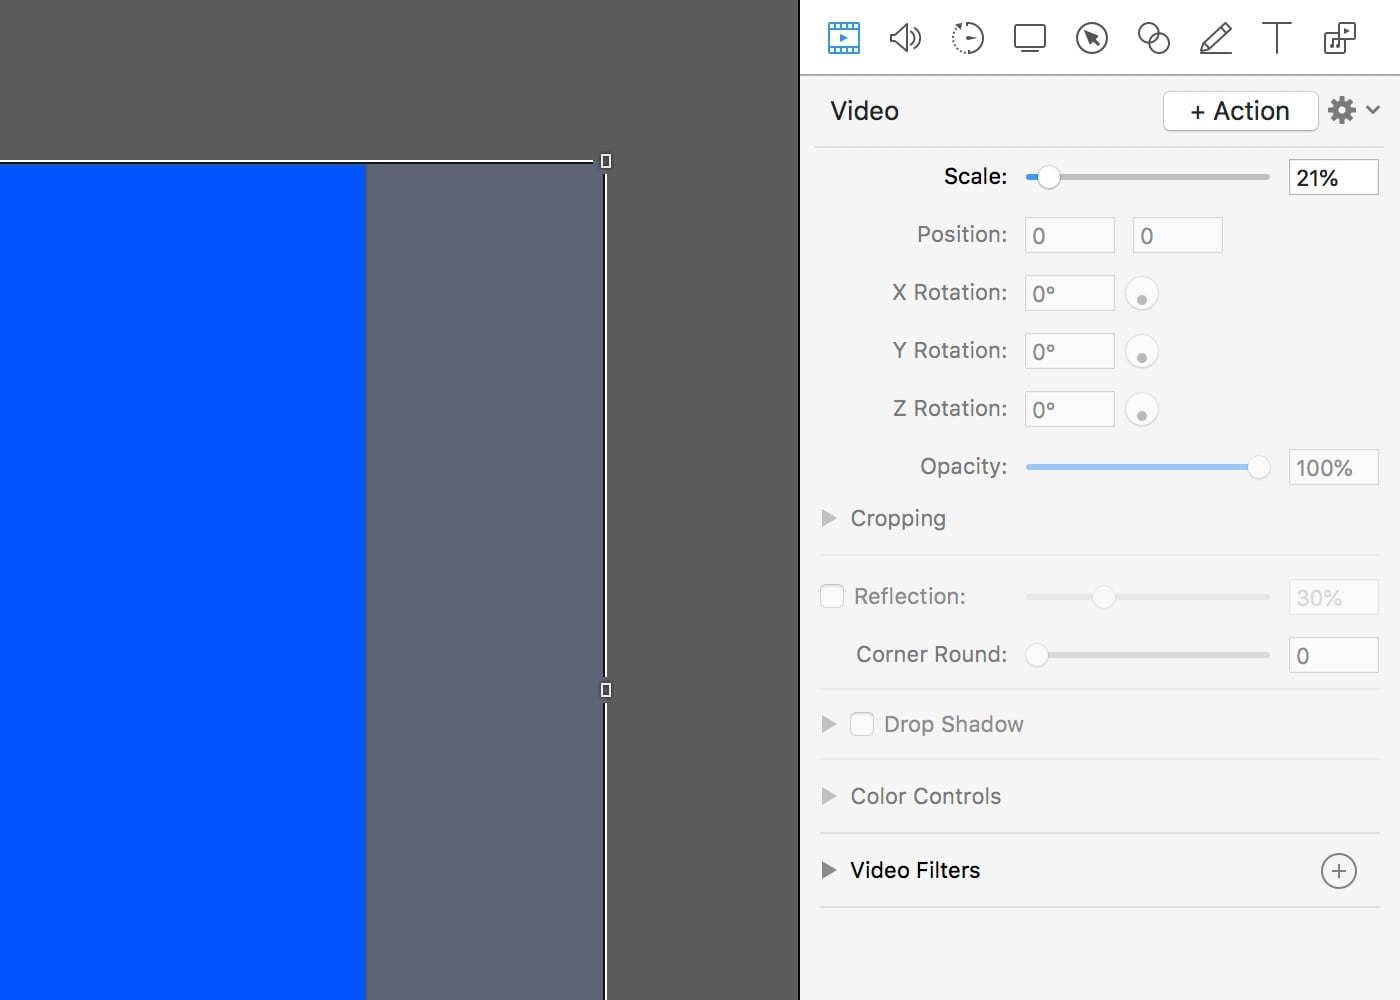
Scale your clip to fit the document size using the scale slider.
Once your recording is in place, make sure you trim the beginning and end by dragging the clip (remember, we want to create the perfect loop!).
At this point your video is ready to be exported as is, though we'd recommend adding some finishing touches. ScreenFlow allows you to add a smooth zooming effect to highlight specific details in your video. To do so, position the video scrubber over the point where you want to add a zooming effect. Next, click the video action button in the top right corner of Screenflow and click + Action. Select a nice beginning and ending state for the action using the scale controls we used earlier. Make sure to repeat these steps for the zoom out effect.
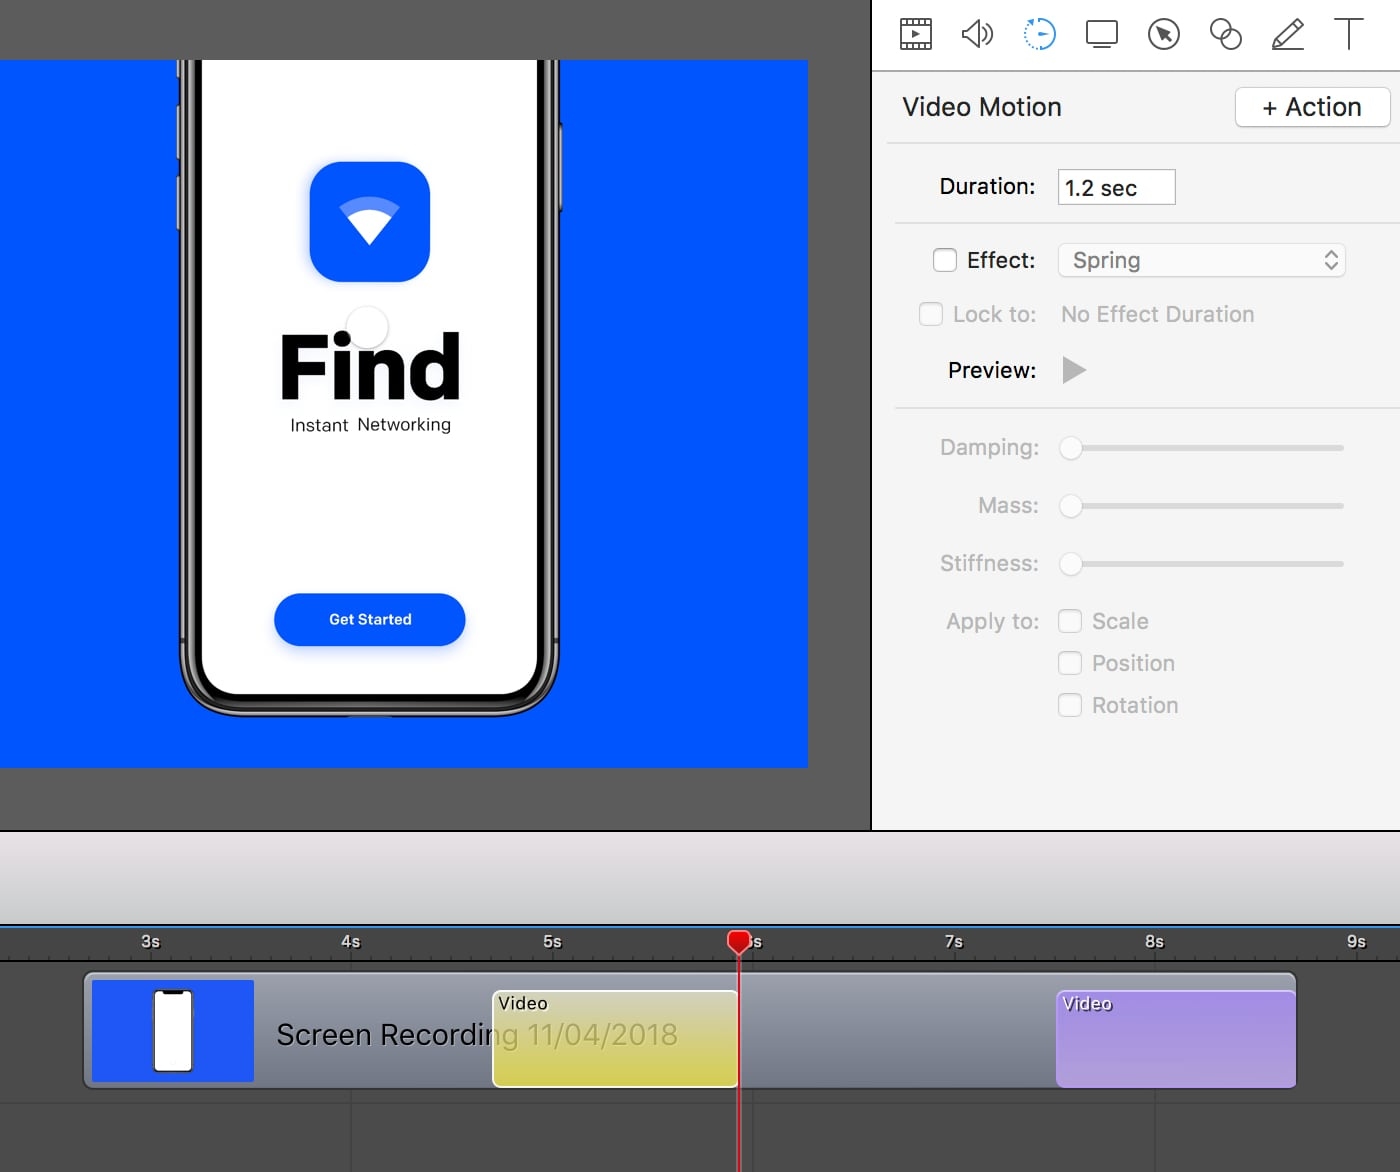
Define animations like zooming by adding video actions.
Pro-tip: When sharing a GIF on sites like Dribbble, keep in mind that the first frame of your GIF will be shown as the thumbnail of the post so make sure to use the most visually interesting frame.
Exporting from ScreenFlow
Now that our clip is polished and perfected, it's time to export. Screenflow offers a preset to export the clip directly as a GIF, though we suggest avoiding this route because your GIF will end up as a heavily compressed large file.
Instead, we'll be exporting a lossless .mov file. Navigate to File > Export > Preset > Lossless - ProRes with Alpha.
Enabling motion blur can often make your GIF feel even smoother, especially with the zooming effect we applied.

Blur vs. No blur
Optimizing with Claquette
Claquette just like Screenflow offers the ability to record your entire or any part of your desktop and trim, cut and export those recordings to GIF or video formats. You can buy Claquette in the Mac App Store for $9.99
Claquette's biggest advantage over Screenflow is that gives you granular control over your GIF quality and thus a better file size with amazing compression. This will allow you to create high-quality GIFs that are an optimal file size.
Just like we did in Screenflow, select the display you'll be recording and hit record in Claquette. Play the video you just exported in QuickTime and hit CMD + 1 to play the video at its actual size.
Claquette recording configuration.
When the clip is done playing, stop the recording to begin cropping and trimming it. Move the slider on the left and right of the clip to the beginning and end of the clip. As for cropping size, use the size you also chose for your clip in Screenflow: 800 x 600. Move the cropping area to the center x:0y:0 and hit crop.

Trimming and cropping clips in Claquette.
Finding the right balance
Here are three GIF qualities that have a big influence on file size:
- Amount of colors
- Amount of motion
- Duration
In most cases, if your GIF only contains one of these qualities then you can crank up the quality. Make sure to set the width and height to 100% and loop forever. When your GIF contains a lot of colors, I strongly recommend keeping the colors at 256 and cutting down on other aspects like FPS or quantization quality.

Claquette's export settings.
There's no real holy grail for these settings, so when sharing to Dribbble (max 8mb) we always try to crank them up to the highest possible settings, then export and see what we have to work with. Keep repeating that exporting process until you find a size/quality balance that fits your needs.
Pro-tip: Even though Dribbble says the size limit is 8mb, it's actually 8.3mb. When working with big colorful gifs, you'll quickly find out why 0.3mb matters.
Now that you've read through the guide, we hope it helps you turn your Framer animations into the best possible GIFs for presenting your work on your portfolio, Dribbble, and elsewhere. We can't wait to see what you create, so be sure to tag your post with #MadeWithFramer for a chance to be featured in our weekly newsletter. Happy creating!
Check out the final result on Dribbble
How To Make A Gif More Clear
Source: https://www.framer.com/blog/posts/how-to-create-high-quality-gifs/
Posted by: nguyenanderfelve97.blogspot.com
0 Response to "How To Make A Gif More Clear"
Post a Comment